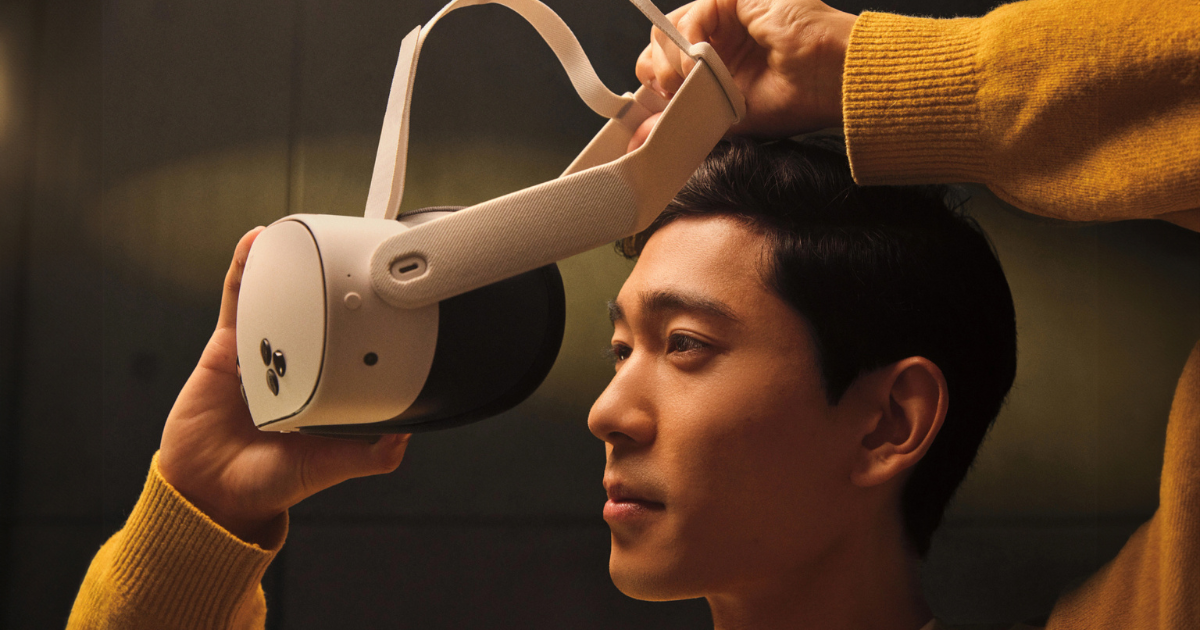
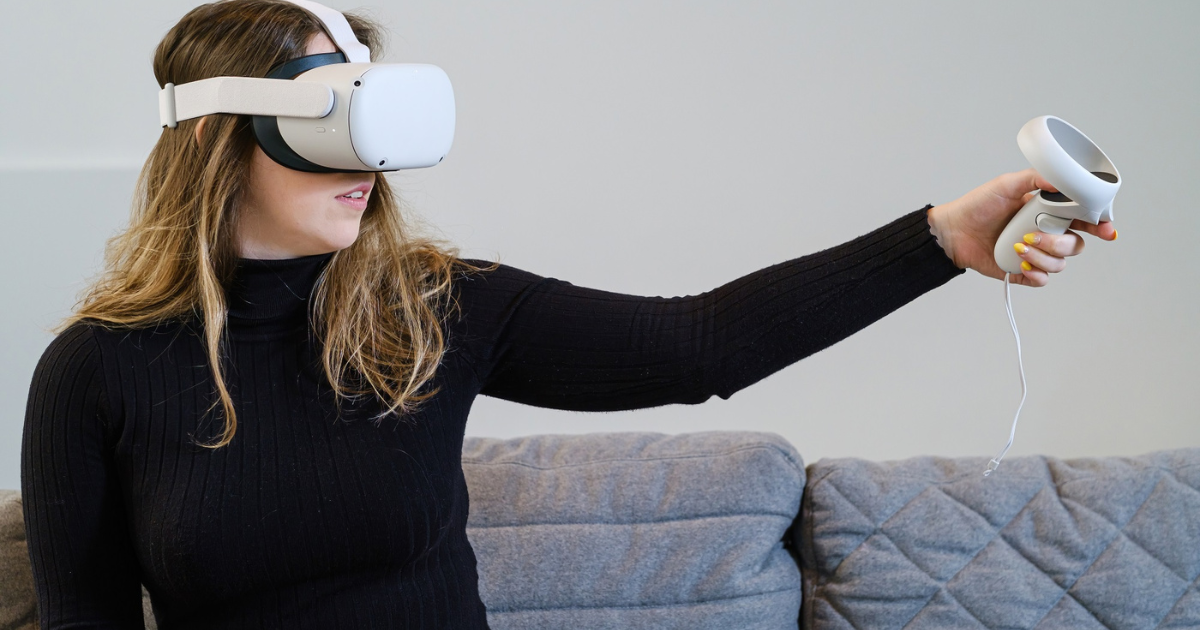
With the Meta Quest 3 revolutionizing the way we experience virtual reality, many users want to enhance their gaming and viewing experiences by casting their headset to a larger screen. Whether you’re showcasing gameplay to friends or watching immersive content, casting your Meta Quest 3 to a TV is a straightforward process. Here’s a step-by-step guide to help you get started.
What You’ll Need
- Meta Quest 3 Headset: Ensure your headset is fully charged and updated to the latest firmware.
- Compatible Smart TV or Casting Device: You can use a smart TV with built-in casting capabilities or a device like Chromecast.
- Wi-Fi Network: Both your Meta Quest 3 and the TV/casting device must be connected to the same Wi-Fi network.
Steps to Cast Meta Quest 3 to TV
- Set Up Your TV:
- If you’re using a smart TV, ensure it’s connected to the internet and supports screen mirroring.
- For Chromecast users, plug the device into your TV and make sure it’s set up on the same Wi-Fi network.
- Enable Casting on Your TV:
- Open the settings menu on your smart TV or casting device and enable screen mirroring or casting. This may vary depending on the device, so refer to the user manual if necessary.
- Open the Meta Quest App:
- On your smartphone, launch the Meta Quest app. Make sure you’re logged in to the same account associated with your headset.
- Connect Your Headset:
- Put on your Meta Quest 3 headset. Navigate to the home screen.
- Select the “Sharing” option from the menu.
- Select Cast:
- Choose the “Cast” option. Your Meta Quest will search for available devices.
- When your TV or Chromecast appears in the list, select it.
- Start Casting:
- You may need to confirm the connection on your TV screen.
- Once connected, you’ll see a notification in your headset that casting is active. You can now enjoy your VR content on the big screen.
- Adjust Settings as Needed:
- If you encounter lag or connectivity issues, check your Wi-Fi signal strength. Moving your router closer or using a Wi-Fi extender can help.
- You can also adjust the volume and settings directly from the headset.
Tips for a Better Casting Experience
- Use a 5GHz Wi-Fi Network: For better streaming quality, ensure you’re connected to a 5GHz Wi-Fi network instead of a 2.4GHz one, as it typically offers faster speeds and less interference.
- Minimize Interference: Keep other devices off your network during casting to reduce lag and improve performance.
- Experiment with Settings: Depending on the TV and content type, try different resolution and frame rate settings to find what works best for you.
Troubleshooting Common Issues
- Casting Not Connecting: Ensure both devices are on the same Wi-Fi network and that the casting feature is enabled on your TV.
- Lag or Choppy Video: Check your Wi-Fi signal strength and consider repositioning your router or reducing the number of connected devices.
- Audio Issues: If the audio is not syncing, check the audio settings on both your headset and TV.


